
Indigo Dress Pattern Hacks, Facing Trick & Updates
Bianca Silva
After two weeks of sewing exclusively for the kids, I finally carved out some time to make something for myself again!
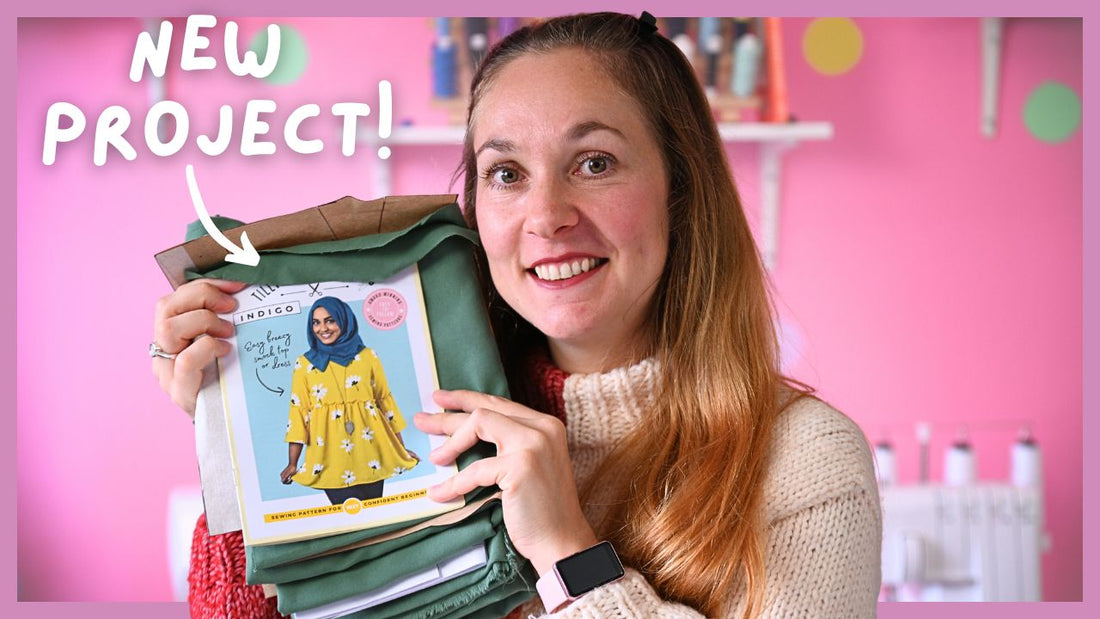
This weekend, I prepped fabric and pattern pieces for the Indigo Dress by Tilly and the Buttons, and I’m excited to share my adjustments, a little facing trick that made life easier, and some fun updates on bows, events, and outfit planning.
Fabric Prep & Pattern Adjustments
My fabric had been sitting rolled up in my stash for 2–3 years, so the first job was a good press, about 2–3 meters in total.
I straightened the slightly curved waist seams on the bodice to make inserting an elastic channel easier. To do this, I folded in the bust dart, aligned the side seams with the back bodice, and trimmed to straighten the waistline.
For the front bodice, I added extra paper to extend the edge; for the back bodice, I simply folded excess paper rather than cutting it off...just in case I want to make another version without elastic later.
I’m cutting a size 2 bodice but upsizing the skirt to size 3 for extra gathers. I love a gathered waist, and with the elastic, it will cinch in nicely.
I didn’t adjust the skirt length since Tilly and the Buttons patterns usually fit me well, but I will tweak the hem later if needed. I’m going with bracelet-length sleeves, these are perfect for the cooler months already creeping in.
My Facing Trick for Slippery Fabrics
Facings can be fiddly, especially with viscose. My trick?
Fuse the interfacing first, then cut out the fabric.
- Cut the interfacing using your template.
- Fuse it onto your fabric.
- Then cut around the interfacing.
This keeps everything stable and prevents mismatched edges—no more wiggly pieces slipping out of place.
Next Project: Handbook Vest
If I finish the Indigo Dress quickly (no promises, every time I say that, life proves me wrong!), my next project will be the Handbook Vest.
I’m leaning toward using a wool mix from Leon for the outside, black binding and ties, and a striped black cotton for a reversible back. Of course, mood and fabric choices can change, but that’s my plan for now.
Back-to-School Bows & A Little Nostalgia
For my daughters’ first day of school, I made four Sydney Sailor Bows (Made for Mermaids pattern) in medium size, two for each child to wear with double ponytails. They looked adorable! Sadly, one bow clip snapped, but it’s an easy fix.
Seeing how cute they were reminded me how much I loved bows as a teenager—I still have some stashed away! I’m tempted to make a large version for myself.
Why should the kids have all the fun?
Event Updates
Janome Sewing Celebration – Tickets are officially sold out! Thank you to everyone who booked. I’m beyond excited for November.
I’m torn between two patterns for the Janome event:
- Rose Café Bustier (with a midi skirt and tie straps, possibly layered over a mesh long sleeve for warmth).
- Somerset Dress by The Petite Dress Maker (fitted bust with ruching, puff sleeves, and a midi skirt).
Which one would you like to see me make? Let me know in the comments!
Manchester Sewists’ Christmas Get-Together – I’m thinking of a lunch or party in early December before the holiday madness begins. If you’re local, would you prefer a relaxed lunch or more of a party vibe? Any menu or venue ideas are welcome!
Thanks for reading and happy sewing!
Bye for now, B! xx