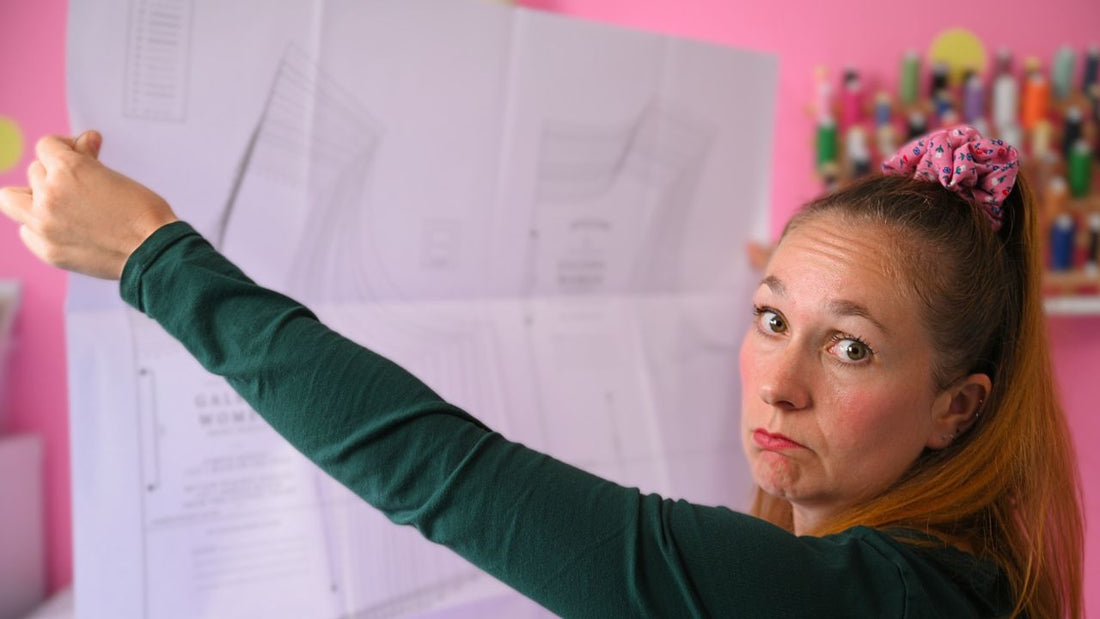
Sew Clothes That Actually Fit: Beginner’s Guide to Better Fitting
Bianca Silva
Have you ever followed a sewing pattern exactly, only to try on your finished project and realize…it doesn’t fit? You’re not alone.
One of the biggest mindset shifts I had to make early in my sewing journey was letting go of the expectation that a pattern will fit perfectly right out of the envelope. Sure, you might get lucky, but chances are you'll need to make some tweaks.
Step 1: Know Your Measurements (And Keep Them Updated!)
One of the biggest mindset shifts I had to make early in my sewing journey was letting go of the expectation that a pattern will fit perfectly right out of the envelope. Sure, you might get lucky, but chances are you'll need to make some tweaks.
Sewing patterns, like store-bought clothes, are drafted for a standard body shape and that shape may not be yours.
That’s totally normal.
It doesn’t mean anything is wrong with your body, it just means you’ll need to learn how to adjust patterns to fit you.
Step 2: Learn the Basic Adjustments
You don’t need to become a pattern-drafting expert overnight. Start with simple adjustments that suit your body. For me, that meant:
- Shortening bodices, trousers, and skirts (I’m 5’2")
- Grading between sizes (my measurements span across 3 different size brackets)
Once you're comfortable with basic tweaks, you can branch out into:
- Bust adjustments (small or full)
- Adjusting darts
- Altering rise length in pants
It’s empowering to know you can make a pattern work for you, not the other way around.
Step 3: Make a Test Garment (Yes, Even if You Hate It)
I’ll be honest...I’m not a big fan of making toiles (test garments). But they work.
When I’m sewing something fitted, a quick test version helps me check if my adjustments are landing in the right place (darts, curves, and all).
How to make it less painful:
- Use scrap fabric or fabric I’m not emotionally attached to
- Skip linings, buttons, and hems
- Treat it as a rough draft, not the final product
This small investment in time has saved me from so many failed makes.
Step 4: Keep Notes on Every Project
A game-changer for me was documenting what I learned from each make. Now, every project gets notes like:
- What size(s) I used
- What adjustments I made
- What fabric I chose
- How I felt wearing the garment
- What I’d do differently next time
This notebook is now my sewing cheat sheet. When I revisit a pattern, I already have the roadmap.
Step 5: Keep Learning, Keep Growing
Fitting clothes is a skill, and like any skill, it improves with practice.
Don’t compare your journey to anyone else’s. Instead, challenge yourself, pay attention to what works, and be kind to yourself when things don’t go perfectly.
With every project, you’ll get a little better. And that’s the beauty of sewing, it’s a constant learning process.
Final thoughts
Always remember, your handmade wardrobe should fit you, not the other way around.
Thanks for reading and happy sewing!
Bye for now, B! xx
