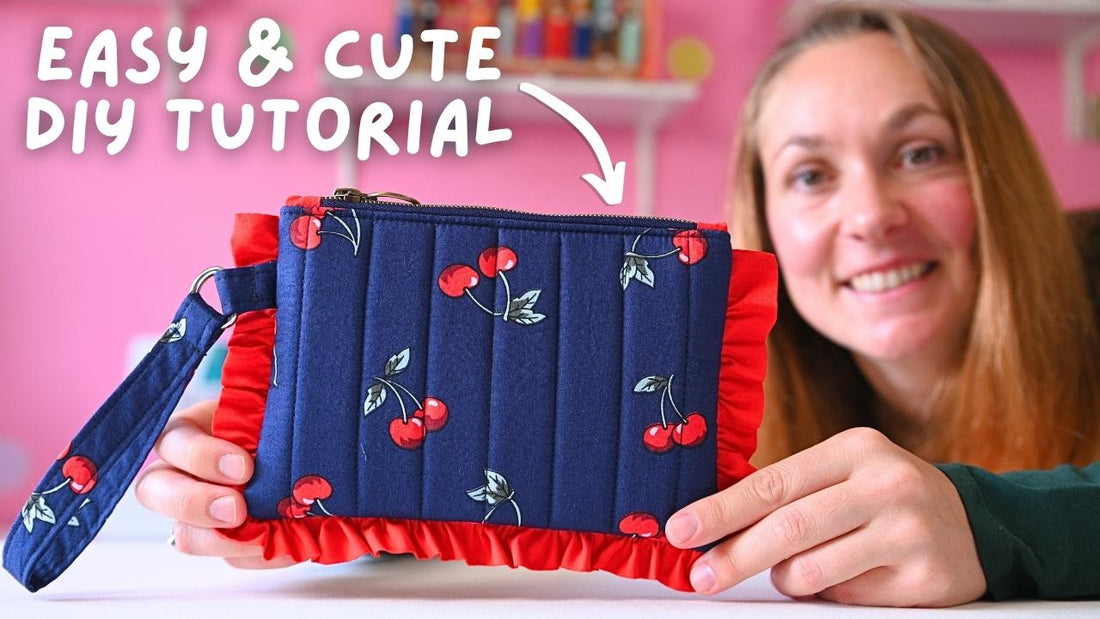
How to Sew Your First Quilted Zipper Bag
Bianca Silva
New to quilting? The Paphos Pouch is the perfect first project!
This versatile quilted zipper bag comes in two sizes, small for everyday essentials or large for travel.
Customize it with a ruffle, handle, or interior divider, or keep it simple. Beginner-friendly and gift-worthy, it’s a fun way to learn quilting basics.
What You Willl Learn
In this step-by-step project, you’ll practice essential sewing and quilting skills, including:
- Quilting fabric onto stabilizer
- Neatening zipper ends with zipper tabs
- Inserting a zipper cleanly
- Gathering fabric into a ruffle
- Applying interfacing for structure
- Making a sturdy handle with a D-ring
- Sewing and lining a zipper pouch
Materials You’ll Need
- Pattern pieces (same for both sizes—cut exterior pieces slightly larger than the template to account for shrinkage from quilting)
- Main exterior fabric (2 pieces)
- Stabilizer (fusible foam, fusible fleece, or spray adhesive)
- Lining fabric (2 pieces)
- Zipper tape + zipper pull
- Optional: strap piece, side tab, ruffle strip
- Hardware: D-ring for the handle
Step 1: Prepare and Quilt Your Exterior
1- Fuse your stabilizer to the wrong side of your exterior fabric, or use spray adhesive.
2- Quilt your panels, try vertical lines, diamonds, or free-motion quilting.
3- Tip: Increase your stitch length (3–3.5 mm) when sewing through thick layers for prettier stitches.
4- Once quilted, trim panels to match your template.
Step 2: Add the Zipper Tabs
1- Cut zipper tape to size and attach the pull if needed.
2- Sandwich each zipper end between two small fabric tabs (right sides together).
3- Sew with a shorter stitch length (2.4–2.6 mm).
4- Press tabs open and optionally topstitch.
Step 3: Make the Handle & Side Tab (Optional)
1- Fold fabric strip in half lengthwise, press to create a crease.
2- Open and fold raw edges toward center crease. Insert interfacing if you want extra sturdiness.
3- Refold, press, and topstitch along edges.
4- Thread the side tab through a D-ring and stitch in place.
Step 4: Create the Ruffle (Optional)
1- Fold short edges right sides together and stitch to create a loop.
2- Press long raw edges together to form a crease.
3- Sew two rows of gathering stitches along the raw edge.
4- Pull threads to gather the fabric evenly.
5- Position the ruffle along your exterior panel (½" down from the top edge), clip in place, and baste.
Step 5: Insert the Zipper
1- Mark center points on zipper, lining, and exterior panels.
2- Layer: exterior right side up, zipper right side down, lining right side down.
3- Sew with a zipper foot using ¼" seam allowance.
4- Flip panels wrong sides together, press, and topstitch ⅛" from the edge.
5- Repeat for the other side of the zipper.
Step 6: Assemble the Bag
1- Open the zipper halfway (important for turning later!).
2- Place exterior panels right sides together, and lining panels right sides together.
3- Clip all around, leaving an opening in the lining bottom.
4- Tip: Push zipper tabs toward lining side before stitching.
5- Fold ruffle toward center so it doesn’t get caught.
6- Sew with ⅜" seam allowance around the entire bag, leaving the opening.
7- Clip corners for neat turning.
Step 7: Turn and Finish
1- Pull the bag right side out through the lining opening.
2- Push out corners and zipper tabs gently (avoid sharp tools).
3- Close the lining opening with a small topstitch.
4- Attach the handle to the D-ring and secure with a row of stitches.
And that’s it, you have sewn your very first Paphos Puff Pouch!
Final Thoughts
This project is an ideal introduction to quilting and bag-making. It lets you experiment with texture, add optional decorative elements, and end up with a practical bag that makes a perfect handmade gift.
I loved how mine turned out, the red ruffle gave a beautiful pop against the navy exterior. I even made matching trousers to go with it (because why not make it a set?).
Thanks for reading and happy sewing!
Bye for now, B! xx
