
Christmas sewing and Sew&Bond™
Bianca SilvaHello, hello!
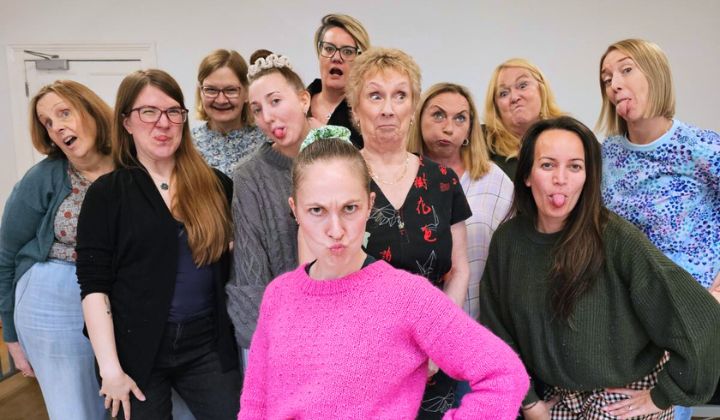
Saturday was our Sew&Bond™ event and it was great to see everyone!
It was great to meet a couple of new people again, catch up with some of the regulars and see Lauren who I hadn’t seen since my first ever event I hosted! 🤩
This week’s projects that were being worked on were shirts, blouses, joggers, a kimono, a sweater, loungewear, bags, and me, with my advent calendar(more about this one further down).
If I could, I would do these every day! I absolutely love meeting with everyone, catching up and seeing what everyone is making.
The next one is on 4th of October with only one spot available. When this one is gone, all dates are sold out until the end of the year...but 2026 dates will be added very soon! And there will be a few surprises...🤭
I am so happy that everyone enjoys the homemade food we bring, but I learnt that I can’t trust my taste buds!
I thought something was cheese that actually turned out to be meat! Now it all makes sense why my partner doesn’t let me do the cooking! 😂
At the end of the day, there was not much food left, just some of the cake which we packed in the car to bring home.
And when we unpacked the car at home…

My overlocker had decided it didn’t want to miss out on the cake. And it really got into some grooves! 27 earbuds later, I think I cleaned it all and if not, I hope the grease is enough to keep the mechanical parts going for now. 😂
Besides this messy finish, I want to thank everyone that came to the event over the weekend! I look forward to seeing those promised photos of your finished makes!
PS: The Hanbok Vest is still not in progress, and neither is the Take It or Leaf It Sweater, despite both kids being in school now. 😂
Stitches of the Week
BeeSilva - Advent Calendar
I feel guilty for putting my Hanbok Vest on standby, but this week I dedicated my time to making an advent calendar.
I have been thinking about making one for a couple of years, and since I’ve been seeing Christmas fabrics every day I work at Leon’s, I thought this is the year I make one!
Last week I showed you the colours and prints I bought and each of my girls chose which ones they wanted for each of their calendars.
I decided to start working on my youngest’s one first.
I used my cutting mat as a template and placed it over the calico fabric, traced around it and cut it out.
Then I drafted the pockets.
I didn’t want the pockets to lay flat, I wanted it to have a little bag, so I drafted 2 different ones to see how much ‘bag’ I wanted them to have.
For one pocket I added 2cm at the side and the other 3cm, and I ended up going for the 2cm gap.
I cut 4 pockets each of 6 fabrics, double folded and topstitched the top, and then pressed under the rest of the raw edges.
What took the longest of time was figuring out pocket placement.
How much space did I want between each one? How much seam allowance did I want to leave for each side? How am I going to add the dowel to the top - loops or channel?
I worked most of it out, but the question still remains on the dowel. I will properly figure that one out when I actually get it. I saw online that B&Q sell them, so I’ll need to pop by one of their stores soon.
After figuring out the pocket placement, I pinned them all on, took a couple of photos and then noticed I had some of the pockets in the same fabric in diagonal rows. 😐
I wouldn’t have noticed them had I not taken a photo from the side, but I did and I needed to rearrange them.
So on Saturday at Sew&Bond™, and with the help of Karen, Vanessa and Lesley, we tried to figure out the best placements making sure that everything was spread out the best it could.
I thought I would get a few of them stitched on, but that didn’t happen… no surprise there really!
Fabric: Calico for the backing, polycottons for the pockets.
The Drama: I need to make another one for my eldest daughter! 😂 I would have non-stop drama if they both had to share the same advent calendar!

Skill Builder of the Week
Chain Piecing
If you’ve ever worked on a project with lots of pieces, and felt like sewing, stopping, cutting the thread and doing it all again a zillion times was slowing you down, then this tip will be useful for you!
Just sew multiple pieces of fabric one after another without cutting the thread in between.
I find this very useful because it saves time, saves some thread and I can just keep pace. I used this technique this week to sew 24 pockets for my advent calendar!
All you need to do is, once you reach the end of one piece of fabric, feed the next one under the presser foot (without overlapping the fabrics) and keep on repeating until you have stitched all your pieces.
Then just snip the threads in between!

Maker Spotlight
This week’s spotlight was chosen by my daughter and it goes to @flowingthreads!

There were 2 firsts for Lisa in this one - first co-ord set and first time using Ankara fabric.
For the top, she used the By Galia Patterns Stellar Top and for the skirt, the Montoya Mayo Ejiro skirt!
The purple and blue flowers pop really nicely on the black background, like all ankara prints, they are just so vibrant!😍
With this beautiful outfit featuring a crop top, I quite understand why my daughter picked it out!😄
Want to be featured in my newsletter? Just reply with a pic of your make. I’d love to see what you’ve made!
Latest Video
One Finished Dress and Too Many New Sewing Ideas!
Events:
Sew&Bond™ - 4th of October (1 Spot Left!)
Sew&Bond™ - 25th of October (SOLD OUT)
Sew&Bond™ - 29th of November 2025 (SOLD OUT)
Sew&Bond™ - 13th of December 2025 (SOLD OUT)
Workshops:
Build Your Confidence in Sewing Workshop
From Fabric to Finished Tote Bag Workshop
Sewing Patterns:
Thanks for reading and happy sewing!
Bye for now, B! xx